Yarn - Lion Brand Hometown USA yarn (super-bulky, suggested gauge - Knit: 9 stitches x 12 rows = 4" (10 cm) on size 13 (9mm) needles). Acrylic (and very machine-washable) yarn made in the USA, and named after appropriate US cities - "Cleveland Brown" and "Cincinnati Red" really were gimmes. These use "Syracuse Orange", "Green Bay" and "Pittsburgh Yellow".
Needles - I used size 10, as I tend to knit very loosely, and wanted this to be a nice, dense fabric. Your mileage may vary.
So, I finished my bedsocks, as I said. They were pretty easy, and the secret to that is in the construction.
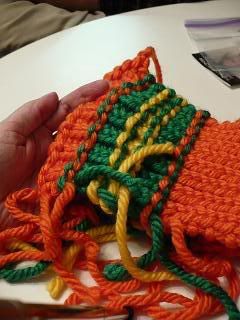
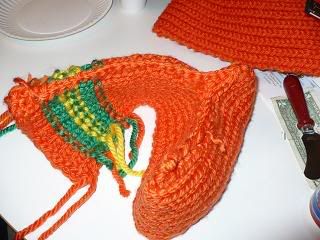
First, you make two k1p1 things over your-foot-is-this-wide stitches, with slipped edges. (The slipped edge makes it easy to hide color changes, and makes construction easier, IMHO.) Mine would up being about 40" long, since I like tall socks. Mine are made from Lion Brand's "Hometown USA" yarn, since "machine washable" is mandatory for bedsocks in my house, and this is a great, soft, super-bulky yarn that knits up quick. But the trick? You can use ANY YARN with ANY PATTERN (lace not recommended, unless you're going for pretty over warm) as long as you wind up with two rectagles of the proper width and length. Not only that - you don't even have to knit them. You can do the same thing with, say, crochet rectagles, or quilted ones - how's that for "make it your way"?

The pretty side
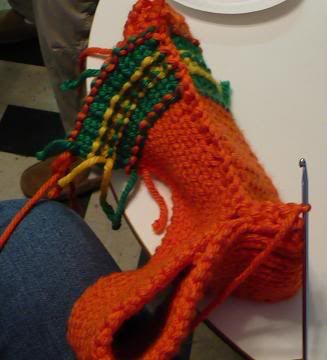
The not-so-pretty-side
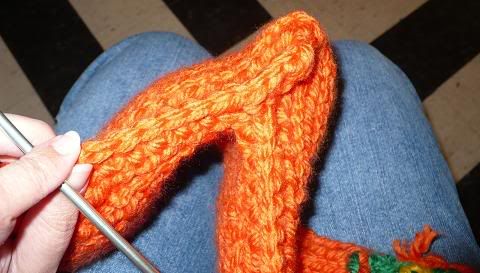
See, you want to fold your bedsock-to-be roughly in half, but not exactly. You'll be making three seams from the cuff down, like this:

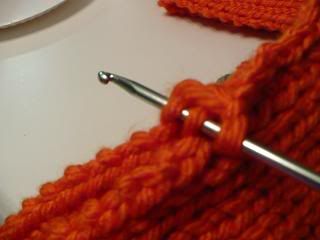
The secret
I just crochet 'em together, from the cuff down, RIGHT SIDES FACING, a stitch through the two loops, then a stitch with the resulting loop and the last stitch, then keep going.
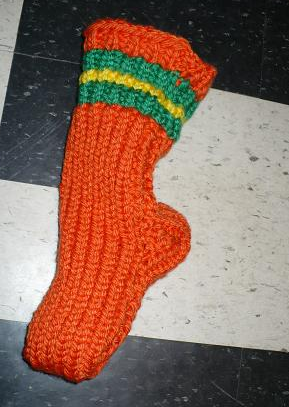
From the top of the calf down, work to the midpoint of where the eventual wearer's ankle should be, then make the heel seam. I just chain the yarn back to the main seam to continue.
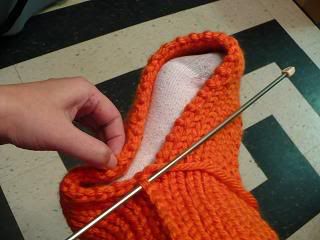
Then, finish from ankle to toe.
There, you have an inside-out sock.
Now, as a design choice, the crocheted seam is actually kind of pretty, and you may want it on the outside of your sock, instead.
Either way, weave in all your ends, and turn sock right-side-out. Ta-dah!! Toasty warm bedsock in a matter of hours (or less, if you knit fast!).
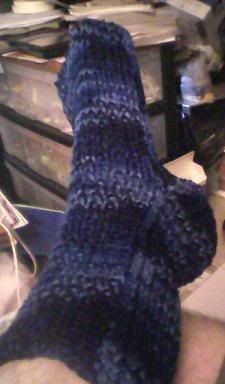
Now, if, like me, you've got people in your house that like quieter colors, that's also an option (this pair was made in Lion Brand Jiffy Yarn):
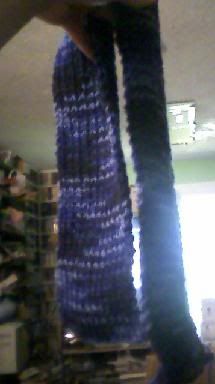
Taller people require longer, wider flat pieces
to make up their socks.
This could've been a scarf.
They sure like them, though!

Love the colors and they look very warm and cozy.
ReplyDelete