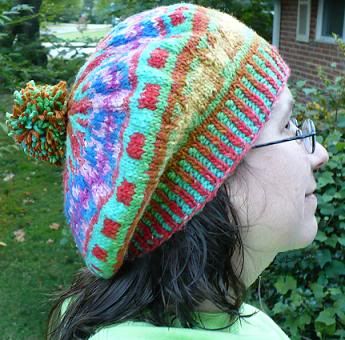
Well, it can go *very* fast, if you use a few tricks. One, find some long-color-run animal-fiber yarn (this is Bernat Mosaic in the "Psychedelic" colorway), take a pair of way-too-small needles, and cast on a wee bit of edge to get a gauge. The trick is you're working one ball from the center, and one ball from the outside, so, for the most part, you'll be working two colors - but it's the same yarn. (If it's a really really huge ball, you might be able to work the same ball from end to end - mine required two balls, though.)
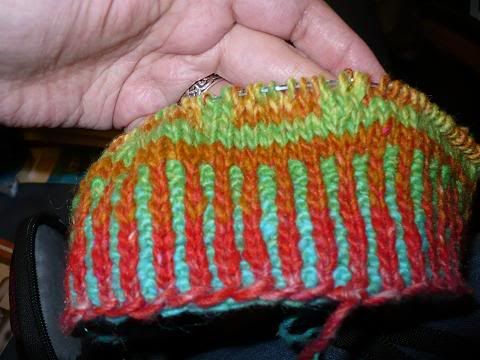
It doesn't have to be that much, even - just enough (three? four? inches) so you can multiply up to however far around your head is. Then the fun of ripping out (don't want to waste yarn, now, do you?) and casting on however many stitches you needed, plus just enough more or less to get you to a nice, easily divisible number. I picked 80 for this one. Then do about enough for a brim, and start the increases. Remember those easy-divide numbers? Mine was "10" - so, for each 10 stitches, every other row I increased a stitch -and, simultaneously, every 6th row, I increased an additional stitch. Did this quite a few times... enough to get me up to about 200 stitches - or At Least Double What I Started With.
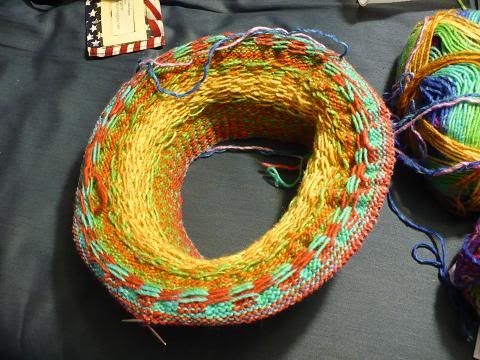
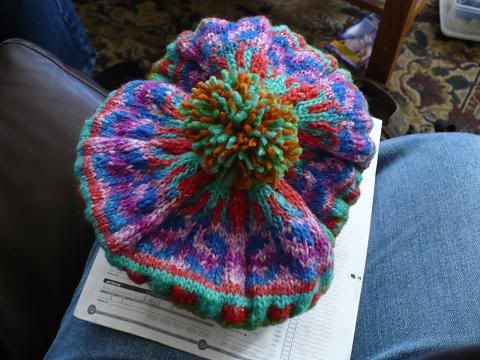
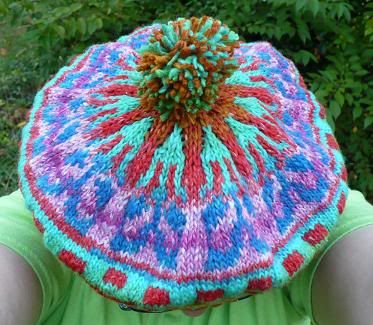
Called that "the edge", and figured out a nice multiple-of-eight thing to make for the edge (4 rows), and then figured out that, if I ran two rows of Yarn A followed by two rows of Yarn B, I could decrease evenly down to 158 stitches. So, I have a 19 stitch repeat, and I'll be making up something as I go while decreasing 2 stitches in each repeat every other row. Got that? Get it down to 12 stitches, loop *both* yarns through the last 12 stitches and pull tight. (I think by the time I hit the last four rows, I was working a single color only. That's fine - if you do that, you just have to loop that last yarn through the end.) Weave in all the ends, and you have something that looks like a demented cupcake. Add a pompom if you wish - and if you have enough yarn left. (It looks fine without, too.)
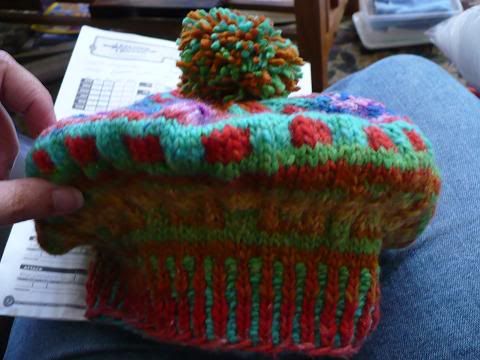
I mean, it has all the parts of a tam, but really... It could use some blocking.
Well, you don't want this to take too long either, right? So use what you have on hand. A clean kitchen pot, for example.
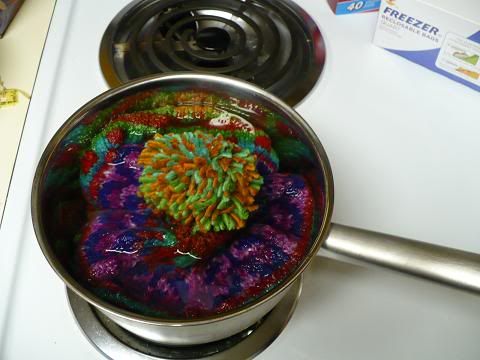
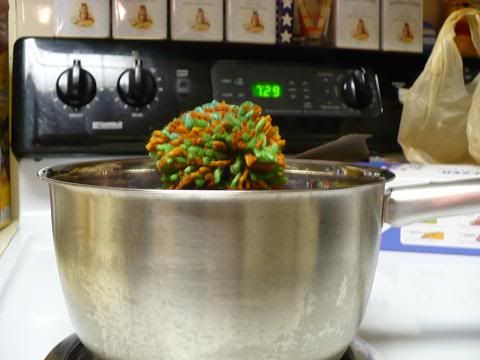
Be warned that other family members may be vastly amused that you appear to be cooking a pompom on the stove, though.
Then, get a small (8") plate into the hat - this will help with the next step - which is to get a 12" plate in there. If you're really brave (or much stronger than I am, you can probably just go straight to the 12" plate, but let me tell you, wet wool puts up one heck of a fight!
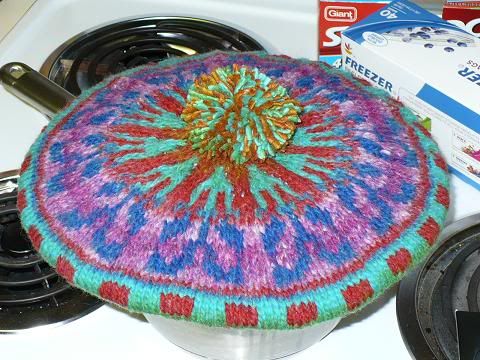
Then it's just a case of letting it dry - putting it in front of an air vent, still resting on the cook-pot - it catches all the water that runs out of the hat, and you have the pompom up/pompom down option. Then you've got a colorwork tam that didn't take long at all!
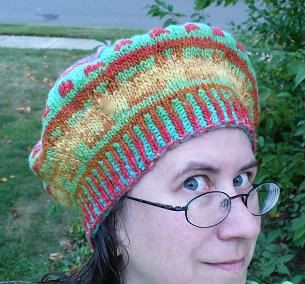
Get some pictures (and remember- taking pictures of yourself by yourself is a skill - practice it!) Wheee!
So far, I'm getting a lot of stuff finished in September. Have I mentioned I love HPKCHC??

No comments:
Post a Comment
Your tracks here...